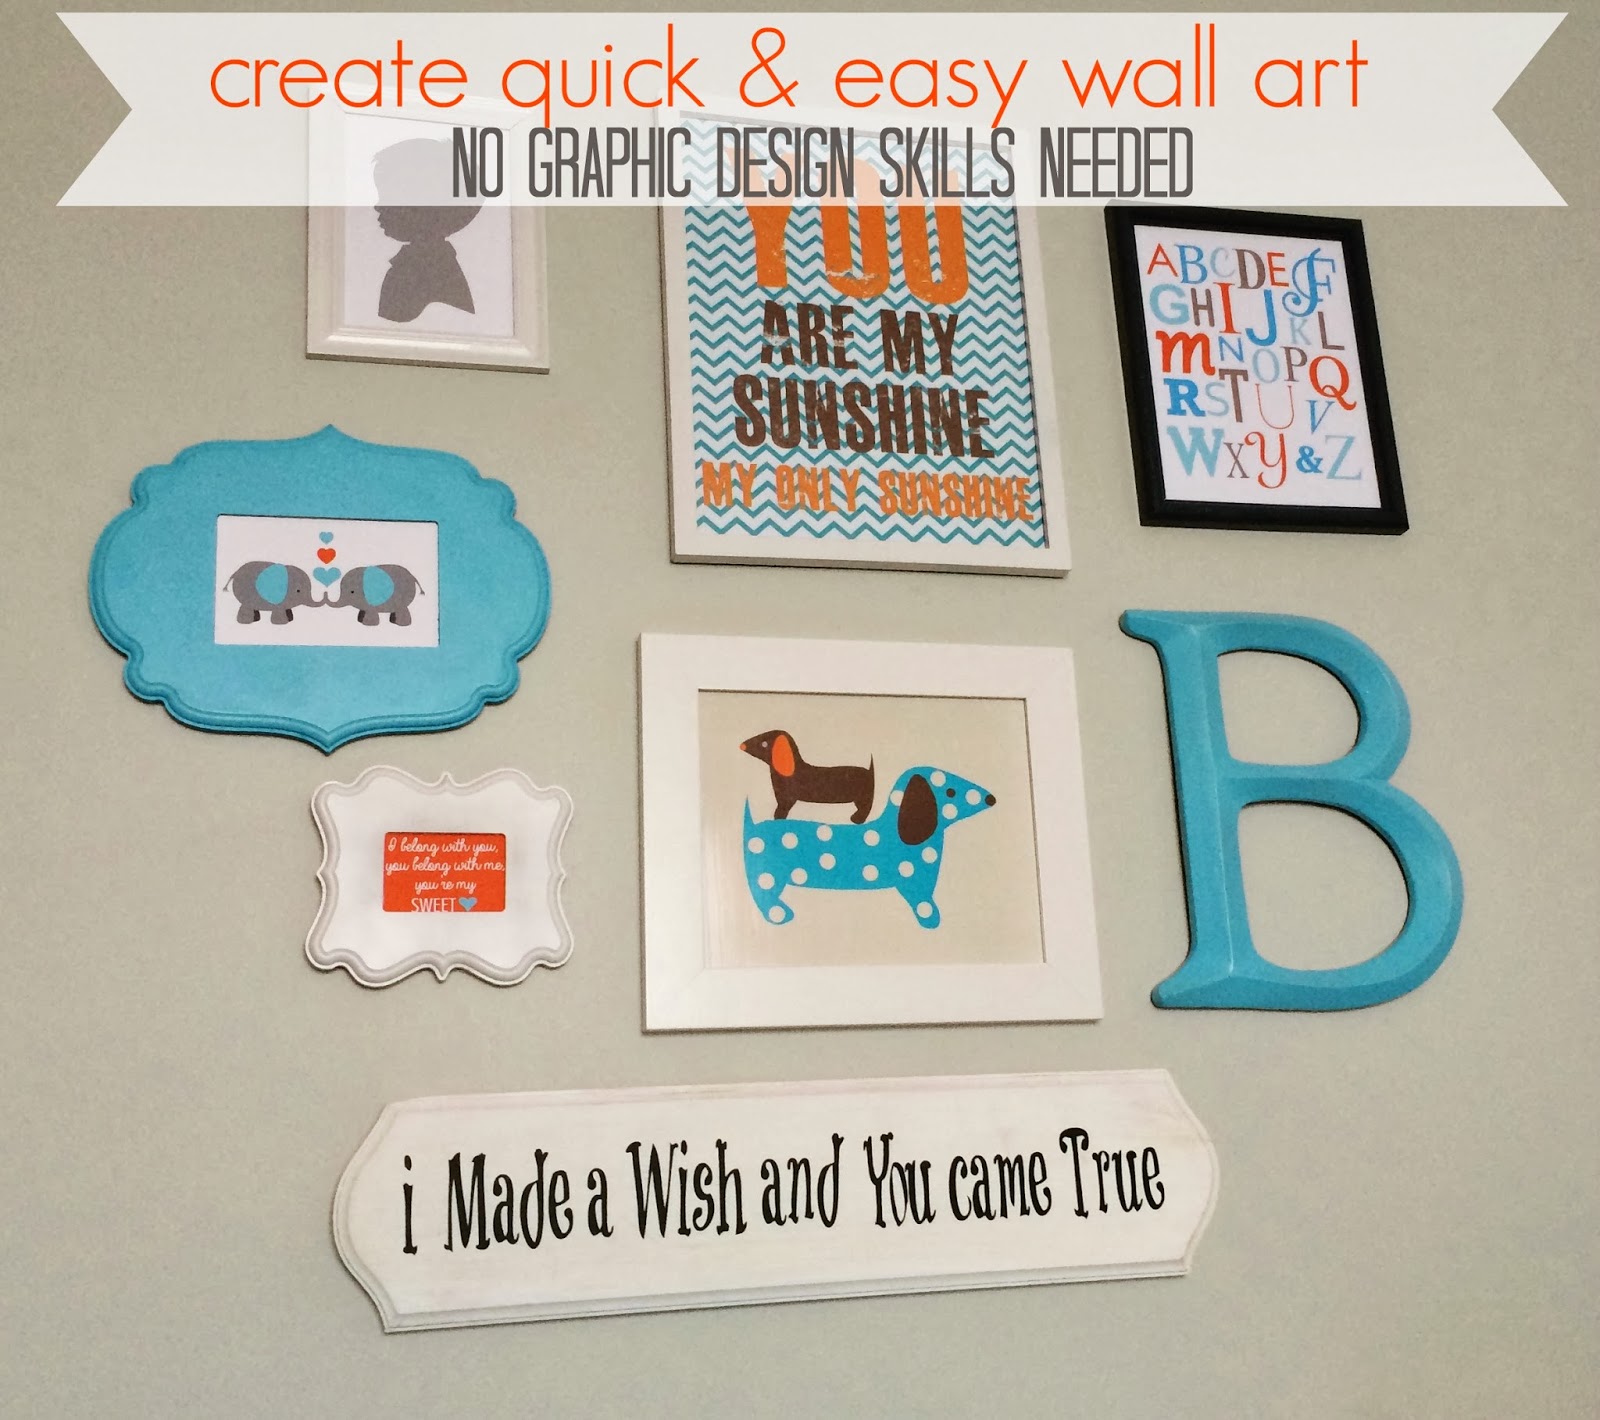
Some of you may recall last summer when I shared Baby B's nursery. Surprisingly, over the course of the past few months I've been receiving a steady pace of email inquiries regarding the elephant print that we used in the gallery wall above the changing table.

I admit I let out a little laugh every time someone asks about that print because I pretty much put it together mere minutes before giving birth. Okay, maybe not minutes before but it was pretty down to the wire and I honestly didn't put much thought into it because at that point I was just ready for this room to be D-O-N-E!
In addition, unlike the invitations I design for my shop I didn't create my own graphics for this project.
Nope, that's right I just simply turned to my old friend Pic Monkey to help me out on this one.

So I decided since the wall art has become a popular subject line among my email pals that I would share how YOU can make one too (if your heart so desires).
Don't worry, be happy, no graphic design skills or expensive software is needed!
Ready to get started?
First thing first, head over to the site Pic Monkey.
Once on the site hover your mouse over the "Design" option.
Below that you will see a list of canvas sizes to choose from.
Pick the one that will fit the size of the picture frame you plan on using.

Next, click on the butterfly image in the left sidebar and add on any overlays you want to use.
NOTE: At the time that I created my wall art Pic Monkey's whole site was FREE, however, in order to access the elephant overlays now you must be a Royalty Member
(which is just a few bucks for a month --still way cheaper than most people pay for wall art).

After your overlays have been placed on the canvas you can play with their placement, size, and colors.
When you click on your image/overlay a black box surrounding it will appear.
To move your images just simply drag the box around the canvas.
You can change the size of the overlay by dragging the corners of the box in and out.
Lastly, you will also have the option of changing the overlay's colors in a small pop-up box that will appear to the side of your image when you click on it. I promise the site is very user-friendly and intuitive!

Once you have your design the way you want it just simply save the image to your computer and print on some plain white card stock. Bada bing bada boom!

Wall art, invitations, birthday cards, gift tags, etc.......
Royalty member or not there is a lot of fun things you can create on Pic Monkey
( I promise they aren't paying me to say that but they totally should.)
So what fun things have you made with Pic Monkey?
PS.Come check out how I made that sweet "I Made a Wish" wooden sign here.
Sources for the rest of the wall art can be found here.

Sharing here:
Craft Dictator
Connect with me: