And here we are, in the blink of eye, in another new year! Naturally, this time of year most of us are thinking of things like organizing, and losing twenty pounds, and new beginnings, and goals, and did I mention losing twenty pounds already? I'm also thinking of old things like the backlog of projects I never got around to sharing with you all last year. Case in point, our DIY farmhouse accent table.
*Disclaimer: This post contains affiliate links. For further information, please read my full disclosure policy.
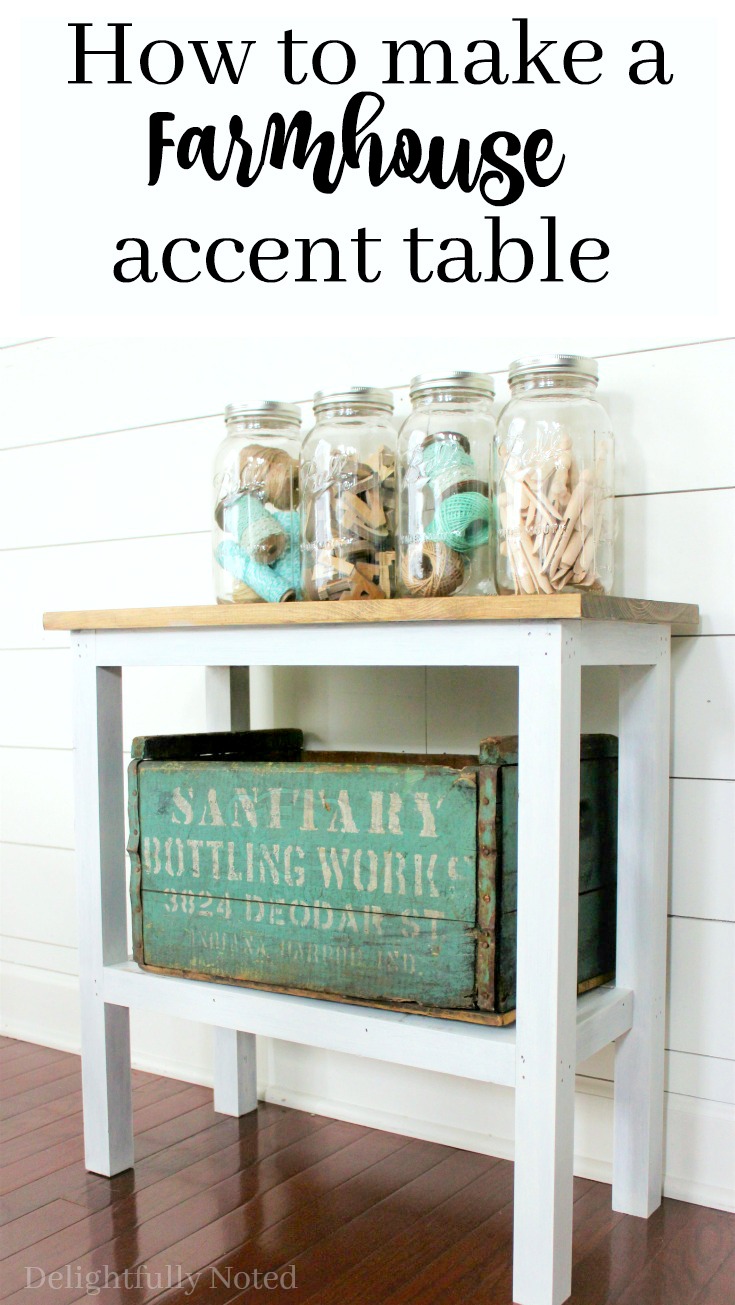
I introduced this sweet little table during the One Room Challenge back in May and I can't believe I'm just now getting around to sharing the deets on how we made it! Part of this is due to the fact that nowadays I'm unable to capture as many step-by-step pictures as I'd like considering I'm usually the one wrangling the 3 year old while the hubby works his magic. However, since this is really a pretty basic build, I'm thinking the pics I do have, along with our instructions will be enough to help you get the point on how to build one of these gems yourself.

Note: Our table measures approximately 2 feet wide and 2 feet tall.
Tools Needed
Miter saw (we use this Dewalt saw)
Circular saw
(1-2) Bar clamps
Nail gun
Finishing nails
Hand sander and sanding paper
Materials Needed
Lumber
(1) 1x12x4'
(2) 2x2x10'
(1) 1x2x8'
Cut List
(1) 1x12 cut to 2' (table top)
(1) 1x12 cut to 19.25" and width ripped to 7" wide (bottom shelf)
(4) 2x2 cut to 24" (legs)
(4) 2x2 cut to 19.25" (front and back crossbars for bottom shelf)
(2) 2x2 cut to 7" (side crossbars for top of table)
(2) 1x2 cut to 7" (side crossbar for base of bottom shelf)
If you're a visual person like me, here's a "diagram" of our cuts.

Instructions
Start by making all your cuts with the Miter Saw (see measurements above). The cirular saw will only be used to rip the width of your lumber for the bottom shelf (reminder that's the 1x12 cut to 19.25" and then ripped to 7 inches wide).
After you've completed all your cuts, it's time to assemble and nail your all your wood pieces together with your nail gun. We started with the sides of the table first, the 2 legs and the top, side crossbar (almost like you're making an upside down "U") and then we went on to attach the two sides via the front and back crossbars. Using clamps is optional but can help hold the table together while you assemble everything, especially if your partner is busy chasing a hammer-swinging toddler. Really the sequence in which you connect your wood is all based on what feels comfortable to you, just know the top and bottom shelves are to be nailed on last.


Once your table is assembled, it's up to you whether or not you want to fill the nail holes. I was going for that rustic, farmhouse look, so I skipped this step.
Next give your table a quick little sanding and then it's time for the finishing touch; paint or stain (or do as I did and do both!)

For the base of the table, I went with Benjamin Moore White Dove (mixed with BB Frosch chalk paint powder). It's one of my favoritEST go-to whites of all time! I've used this color in Little B's nursery, on our shiplap, and our board and batten both in our hallway and in our NEWLY wall-treated dining room(more on that soon!) Yes, I admit, I have a slight obsession with it. The top of the table was stained Jacobean by Miniwax.

This table is so charming and the ultimate way to utilize small spaces anywhere within your home. I can see it in a powder room with cute baskets to store pretty rolled up hand towels and toiletries, or even in an entryway to serve as a drop zone for cell phones, keys, and mail. As I mentioned, I use it in our office decked out mostly with decor accents. It's main function? To just sit there and look pretty! Man, I wish I had that job.


Hope you enjoyed my first post of 2017! Cheers to catching up on sharing old projects, right? Maybe this will actually be the year that I catch up on life! Ha!
Sharing with these link parties.

Connect with me: