I realize opening up this post with "Hey! Check out my green stool!" sounds rather classless and unpleasant and that I may lose friends, but seriously, check out my green stool!
I had been on the prowl for a good-looking and reliable stool for Little B for awhile now. Something that would allow him to explore his independence in hand washing and dental hygiene skills (or what ever that's called that 2 year olds do with toothbrushes).
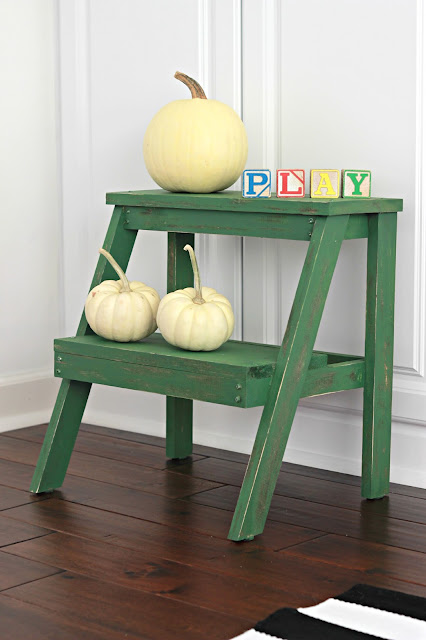
Everything I saw was coming up short; literally! Most retailers sell just one-step plastic character stools, and the taller wooden stools I found online were really pricey. I quickly realized if we were going to give the little guy the boost he needed within a price range that I felt comfortable with, then we were going to have to build one ourselves....and that's exactly what we did!

I remembered I had pinned these DIY step stool plans from Her Tool Belt recently and really liked the look of it. Plus, it could be built out of using just one board. Any project that doesn't require a lot of materials is a win-win in my book! You can find the step-by-step instructions here. It's pretty straight forward.
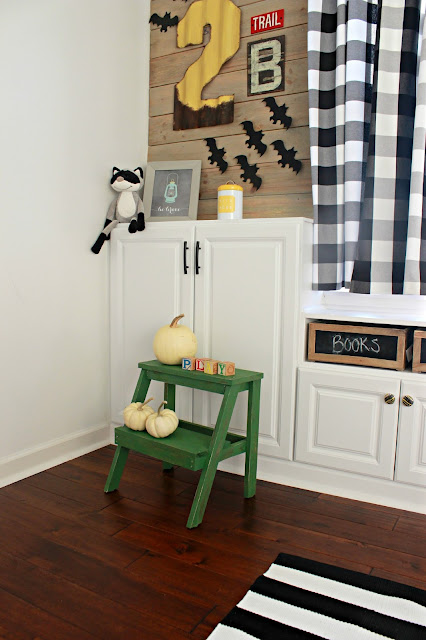
Of course, the exciting part for me was picking out the paint color!
This stool is intended for his bathroom and even though we haven't done much to that space other than hanging a striped shower curtain I had this craving to paint it green. I scoured Pinterest and Instagram for weeks searching for the perfect green and then I found it!
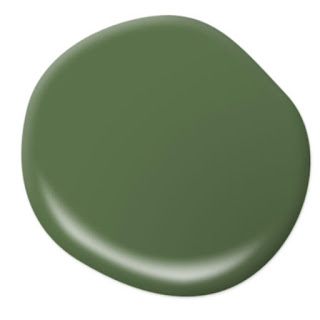
It's called Hummingbird Green and it's by Behr.
Seriously, my pictures don't do it justice! I feel the color photographed a lot brighter than it actually is (and my distressing looks harsher on camera too!) The sample color above is pretty darn close to what it looks like in real life. It's the most beautiful green ever, and this is coming from an AQUAholic!
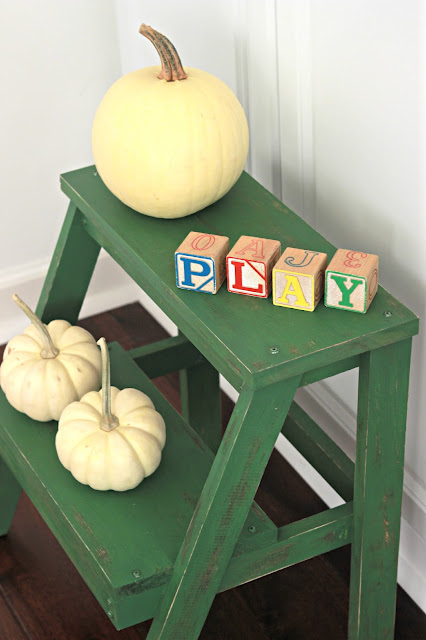
This was also my first time using BB Frösch chalk paint powder. I won some in a giveaway a few months ago and had been eager to try it out. Let me just say I've been converted, this was a MUCH better chalk paint experience compared to my last one! My favorite part about this product was that you can mix the powder with any latex or acrylic paint, therefore, you have the flexibility to make chalk paint out of any color you want. I was never a fan of the fact that most chalk paint companies sell a limited scheme of colors. It's also a less expensive option (seriously, chalk paint, why you so expensive?) and in my opinion had fabulous coverage. This isn't a sponsored post, just a few thoughts I wanted to share about it.
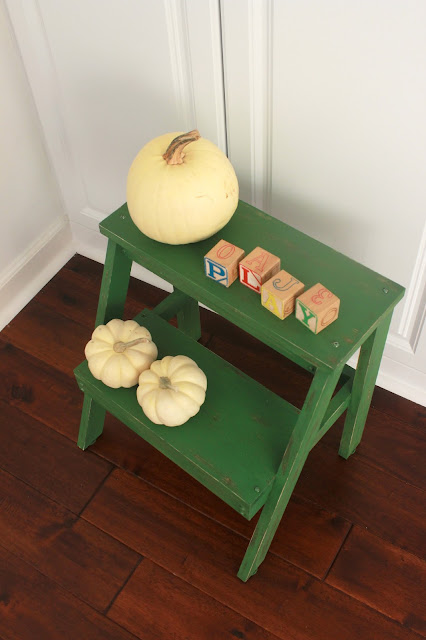
Okay, so back to this stool and it's makeover! I was inspired to give it a distressed and rustic look after coming across this beautiful stool. Isn't it yummy looking?
So I don't have step-by-step pics of my process but basically I stained the stool first. I used Miniwax's Expresso and allowed the stain to dry for 24 hours. Then I painted over it following the BB Frosch instructions that came with my box of chalk paint powder. Trust me, my hubby never gets why I paint over the stain but is so later when you go to distress your piece, little peeks of the stain will come through. Then after the paint dried I went to town distressing the stool with a piece of 200 grit sanding paper.

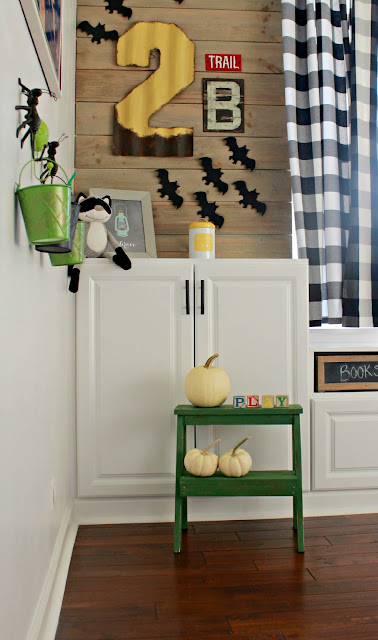
I'm as pleased as punch, green punch to be exact, with how it turned out!
I promise this won't be the last time you see this lovely color.
I can't wait to find another project to use it on. I'm thinking Christmas signs, a fun vintage bed frame, oh, the possibilities! Stay tuned.
Thanks for stopping by!
Can't get enough of me? I know I'm lovable!
Unless you wake me up really early in the morning....then you should fear for your life. Just sayin'.
Well, then come hang out with my on Instagram.
Connect with me: